ZeroFive Antenna Preparation
Earlier this year, I hinted at a new antenna project that I would be doing. Well, it's finally done. Everything takes longer to do than expected, right?After ordering the 40-10 ZeroFive antenna, Balun, coax, I left them in their boxes for a couple of weeks or more. Then, I started to get the pieces out of the boxes. These people make great hardware!First, I dug a hole and purchased the mounting pipe. I also bought 1500-feet of number fourteen insulated copper wire to be used for radials.After digging the hole and mounting the pipe in the cement, the unwrapping began.Here's a look down the mounting hardware: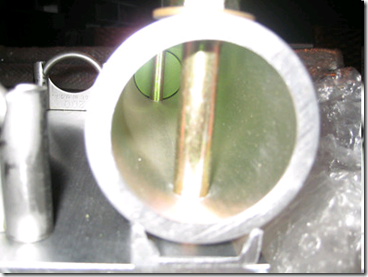 The left side of this photo is where the in-ground pipe will attach to this plate. The right is the install plate for the antenna.Note the number 8 bolts that hold the antenna in place. Removing the top one allows the entire antenna to be walked up and down for work. Also note the green insulator at the back of the pipe. High quality, precision machined. Just above the insulator is a small hole for moisture to leave the pipe -- a great touch.Here's a different view of the hardware:
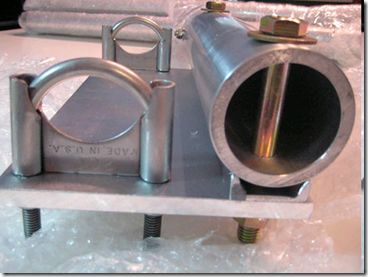 This configuration makes it extremely simple to install the antenna on the mounting pipe. I had no problems installing this by myself.The top of the picture also shows the aluminum tubing in their bubble-wrapped shipping form. The packing for the parts for shipment was way beyond normal.Here's a view of the radial plate and bolts for the plate:
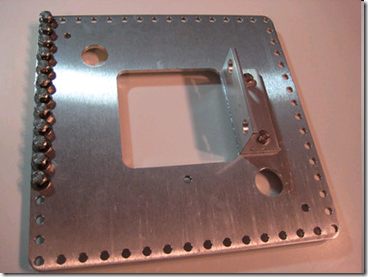 This radial plate holds 60-bolts (comes with the plate). It is designed to be installed around a 4x4 inch post, or to be connected to the mounting pipe with a supplied U-bolt. The two round holes are designed for ground rods (which I did not use as they would have hit the cement).Next is the installation plate for the Balun.
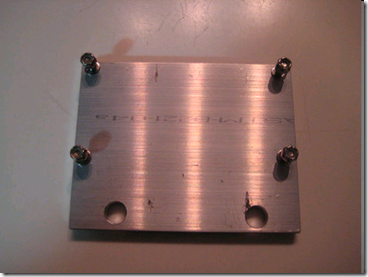 The four bolts fit the recommended Balun perfectly. The other two holes are for the U-bolt (supplied) to connect to the antenna.The Balun is designed for mounting on a beam. Consequently, the weep holes for moisture are not open to earth. The manual recommends, and I followed, sealing the holes and drilling new ones on the side of the Balun facing ground.Finally, here is the insulator between the antenna and the ground portion of the antenna:
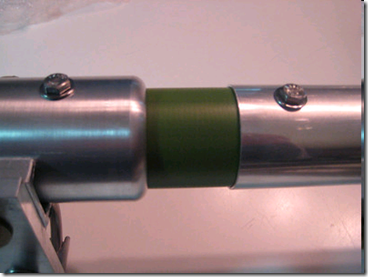 The two bolts are where the Balun wires connect. The Balun manual notes which side is the center and which is ground.The only engineering comment on this great antenna was that both bolts were facing the same direction. There wasn't enough wire supplied between the Balun and the antenna connections here.What I did was remove and reinstall one of the bolts shown, but in the opposite direction. By doing this I had wire for the "nut" side of each bolt for connection. It was a long haul, too. The bolts are machined through the insulator.That was the setup. Next, I'll cover installation.You can see these pictures and others on my picture site. Simply put your cursor inside the main photo and you'll get a menu of sizes to look at.Scot, K9JY